Taking a Closer Look

To my delight and surprise, several weeks ago a piece of mail I was very skeptical about ever receiving finally arrived at my home address. It was a white envelope, quite light and thin, but within the slender envelope tangible and enormous dreams resided.
It was mailed to me from PrakashLabs, the bioengineering department at Stanford University in California. I’d seen a very intriguing video about an ambitious and very creative idea:
“A Foldscope is an optical microscope that can be assembled from simple components, including a sheet of paper and a lens. It was developed by Manu Prakash and designed to cost less than US$1 to build.” – from the Wikipedia entry. “Although it costs less than a dollar in parts, it can provide over 2,000X magnification with sub-micron resolution (800nm), weighs less than two nickels (8.8 g), is small enough to fit in a pocket (70 × 20 × 2 mm3), requires no external power, and can survive being dropped from a 3-story building or stepped on by a person.” – from the Foldscope website.
The video demonstrated (2012 TED talk video) all the whys and hows of its existence and I thought it was completely fantastic. There are many wonderful uses for microscopes in all parts of the world and I really related to their idea that all kinds of people should have one on hand. Considering how expensive microscopes can be, their super cheap, light and convenient microscope concept could make exploring the world beyond that of the naked eye accessible to millions of people who would otherwise never get to use such a powerful tool.
I also happen to be someone that does not own a proper microscope. They emphasized how cheap the tool was, so, being strapped for cash in regards to a real microscope and out of profound curiosity, I visited their website to see if I could buy a few. It turns out they have not yet made them available to purchase, but I was still lucky! The team was actively seeking out testers with plans to mail several thousands of the paper microscopes out to people all around the world. I jumped on the opportunity to have one mailed to me, so I signed up, hoping it wasn’t already too late to join in on the fun.
I have always wanted to be able to look at microscopic animals and for larger animals, aspects of their anatomy for improved diagnostics, especially in regards to spiders. The practicality of using one of these lightweight, sturdy microscopes while in the field was too good to pass on, especially considering that James and I were set for a trip to the Neotropics in the summer. I’d wished to bring it to Mindo, Ecuador, but unfortunately shipments were delayed until fall and winter, and thus, no beta testing could be conducted in the cloud forest.
The envelope arrived in December and I was quick to attempt using it when I could. Here is my experience of the fascinating ‘Foldscope’.
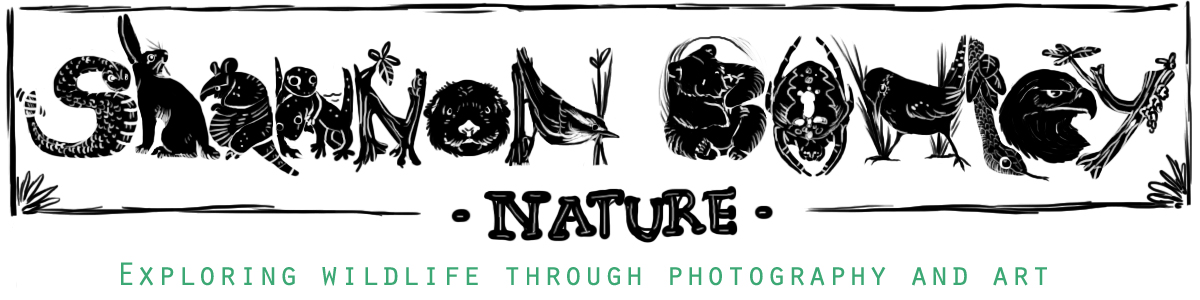
The contents:

Right to left – Foldscope sheets, tape for slides, letter, instructions sheet. Center – double sided tape and bag with lenses, etc.
I opened the envelope and pulled out a number of sheets and a bubble bag with some rather unusual looking bits of black plastic inside. They reminded me of old film strips. Another, smaller antistatic bag for something electronic was also in there. Very mysterious, but not for long!
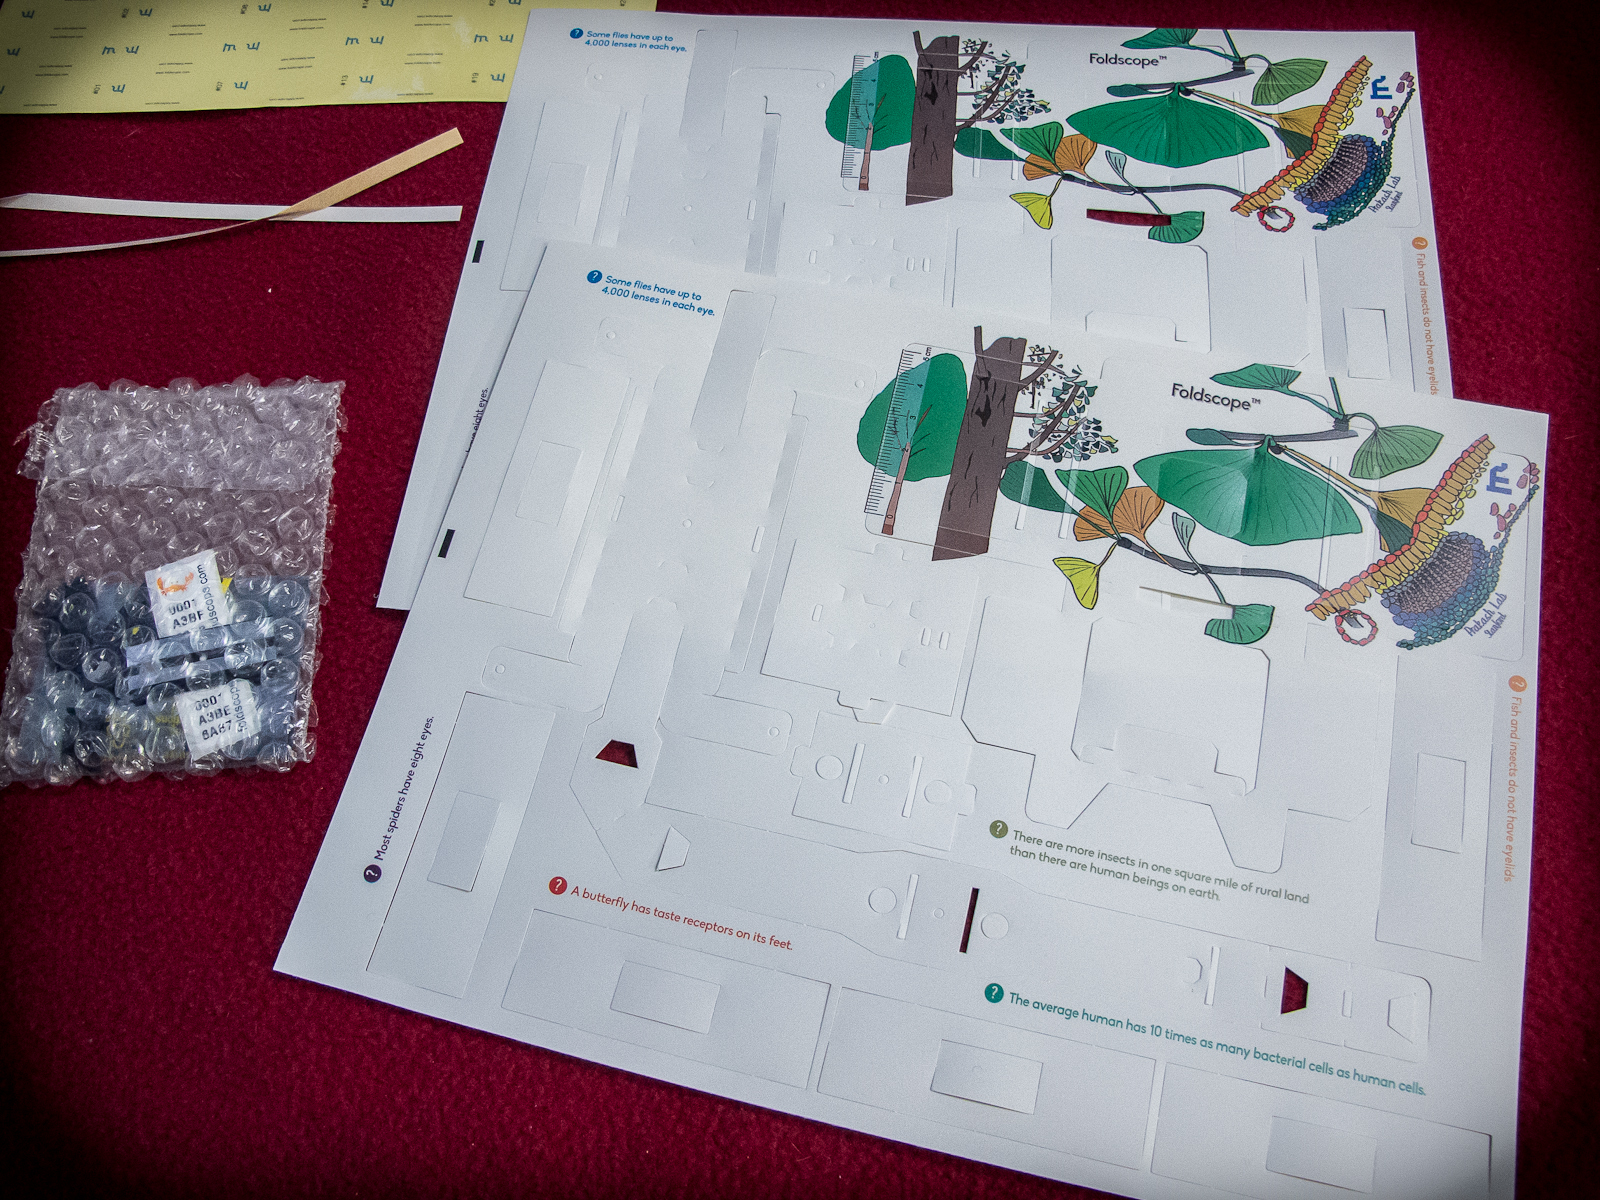
Closer look at the sheets.
Some of the paper already fell out from the cutouts. The paper isn’t really paper like one uses for printing, it actually feels more like plastic, like it’d do well resisting water (and it pretty well did later on). I was relieved to see that they had sent two sheets of the actual Foldscope. I don’t remember if I had requested them sending two, or just one. Either way, that was smarter in the event that I somehow ruined the first one.

Even closer look!
There were also two sheets of tape strips, alternating between unnumbered ones and numbered. Very handy for keeping track of the slides!
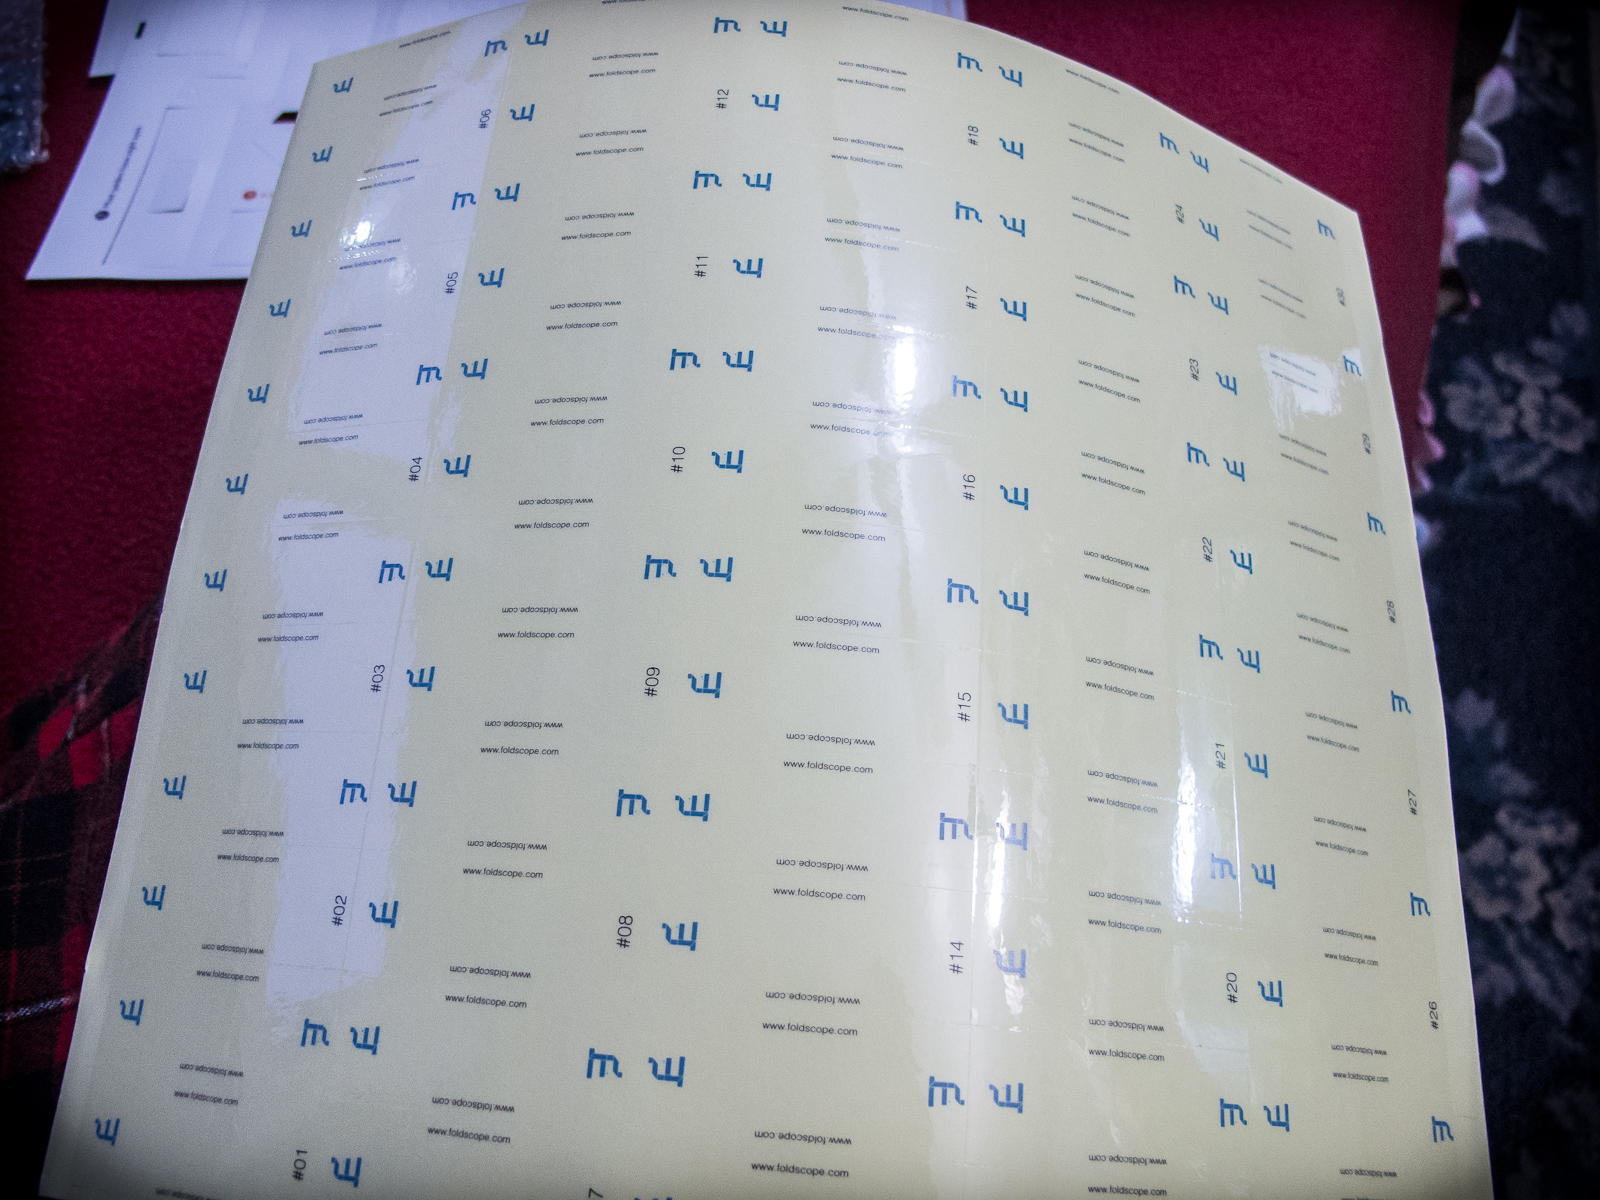
The sheets of tape strips (two sheets).
It is suggested that one can use regular clear tape in place of these.
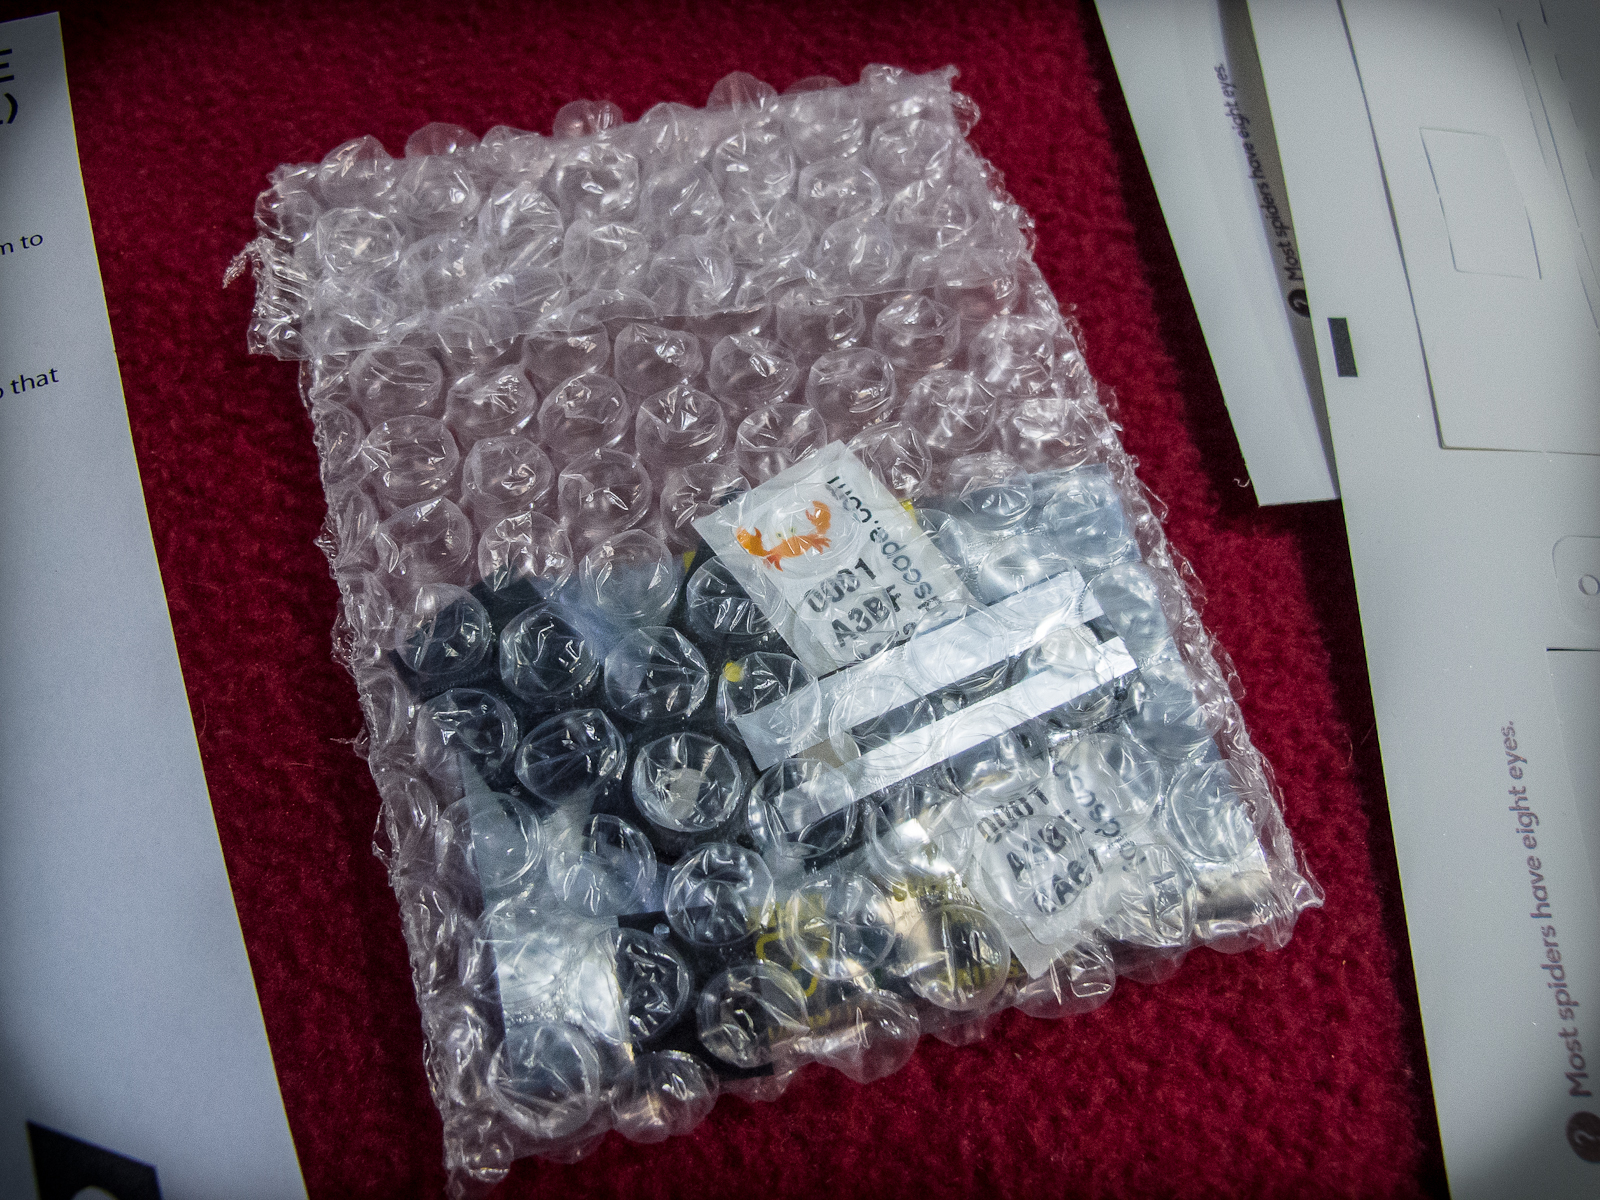
Bubble-wrap baggy
Lots of cool things inside of the bag!
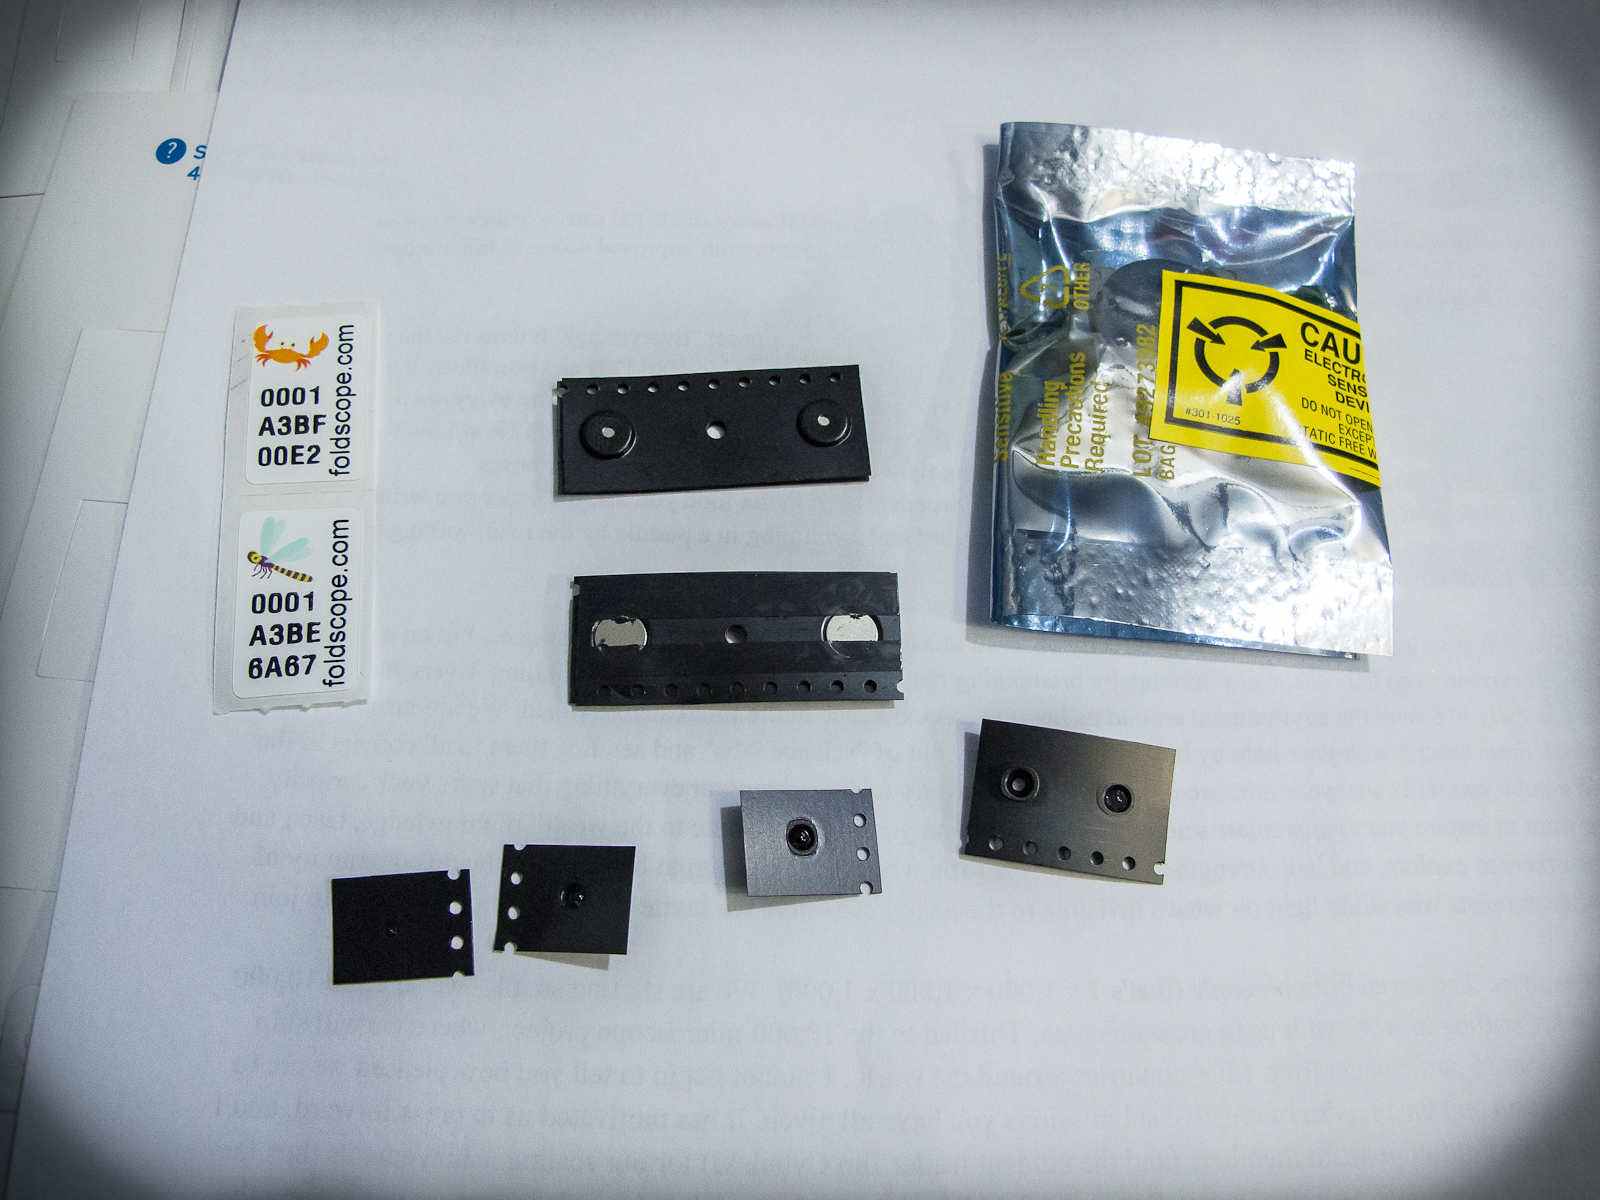
Everything inside the baggy.
Foldscope unique ID’s, magnetic strips for camera phone observations, LED light in an antistatic bag, 4 lenses – High Magnification, two Low Mag and a lens for projections. (Or something like that, I’ll review the instructions and edit this later)
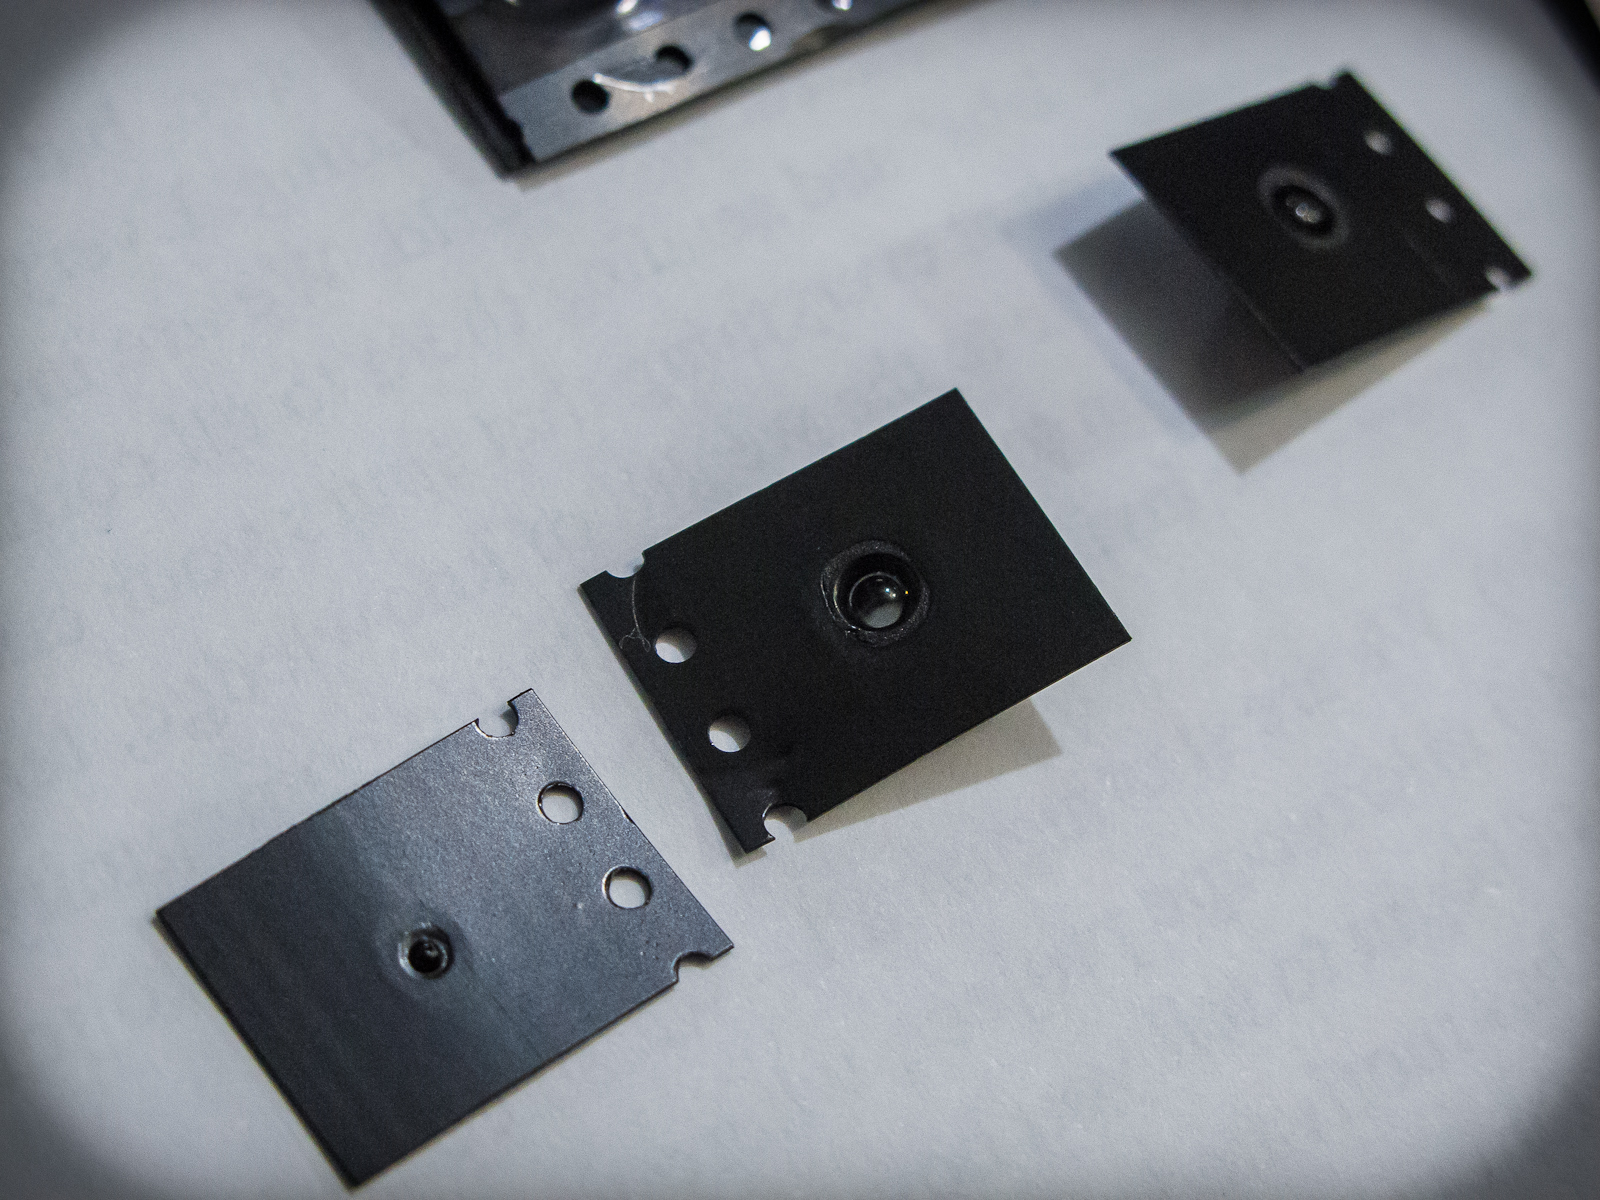
Lenses
You can see the glass bead bit in the center. Simple, but very effective. Pretty well how working with a drop of water on a cellphone lens magnifies things quite a lot. The High Magnification lens is on the left, Low Magnification lens is in the center and to the upper right.
Here, I put all the basic pieces together (click on the image below to see it all larger):

Putting together the Foldscope

Phone attached via magnetic strips on the Foldscope itself, and one on the phone.

 Back of the whole setup. Light from the sun or artificial light source goes through the little hole in the center.

My first slide – some dried up snail eggs.

Snail eggs inside the paper and tape slide. The subject, dried up snail eggs, wasn’t a good one. I later removed the strips of tape from the paper slide and abandoned the microscope for the night.
Second Day of Tinkering
I set about collecting subjects for the slides, deciding to look at my own blood, a leaf from a plant, and an aquatic worm from a fish tank. I decided to experiment with the other lenses – High Magnification Lens, Projector Lens and some other lens that was only slightly different from one that looks similar to it (I think it has a larger aperture). For the projector, this meant breaking out the LED light from the antistatic bag and removing more of the paper from the Foldscope sheet and fitting it onto the back of the Foldscope itself.
First, I’ll show photos of my blood taken with the Foldscope when viewed through my cell phone camera, some with light from a lamp and others through the LED light they included in the kit. I’m not in the habit of cutting or poking myself, so doing this deliberately to draw blood was pretty weird for me, but I learned something about skin layers and where and when one actually begins to feel pain (at least on a section of my foot) – that’s a whole other thing though – on to the blood itself!
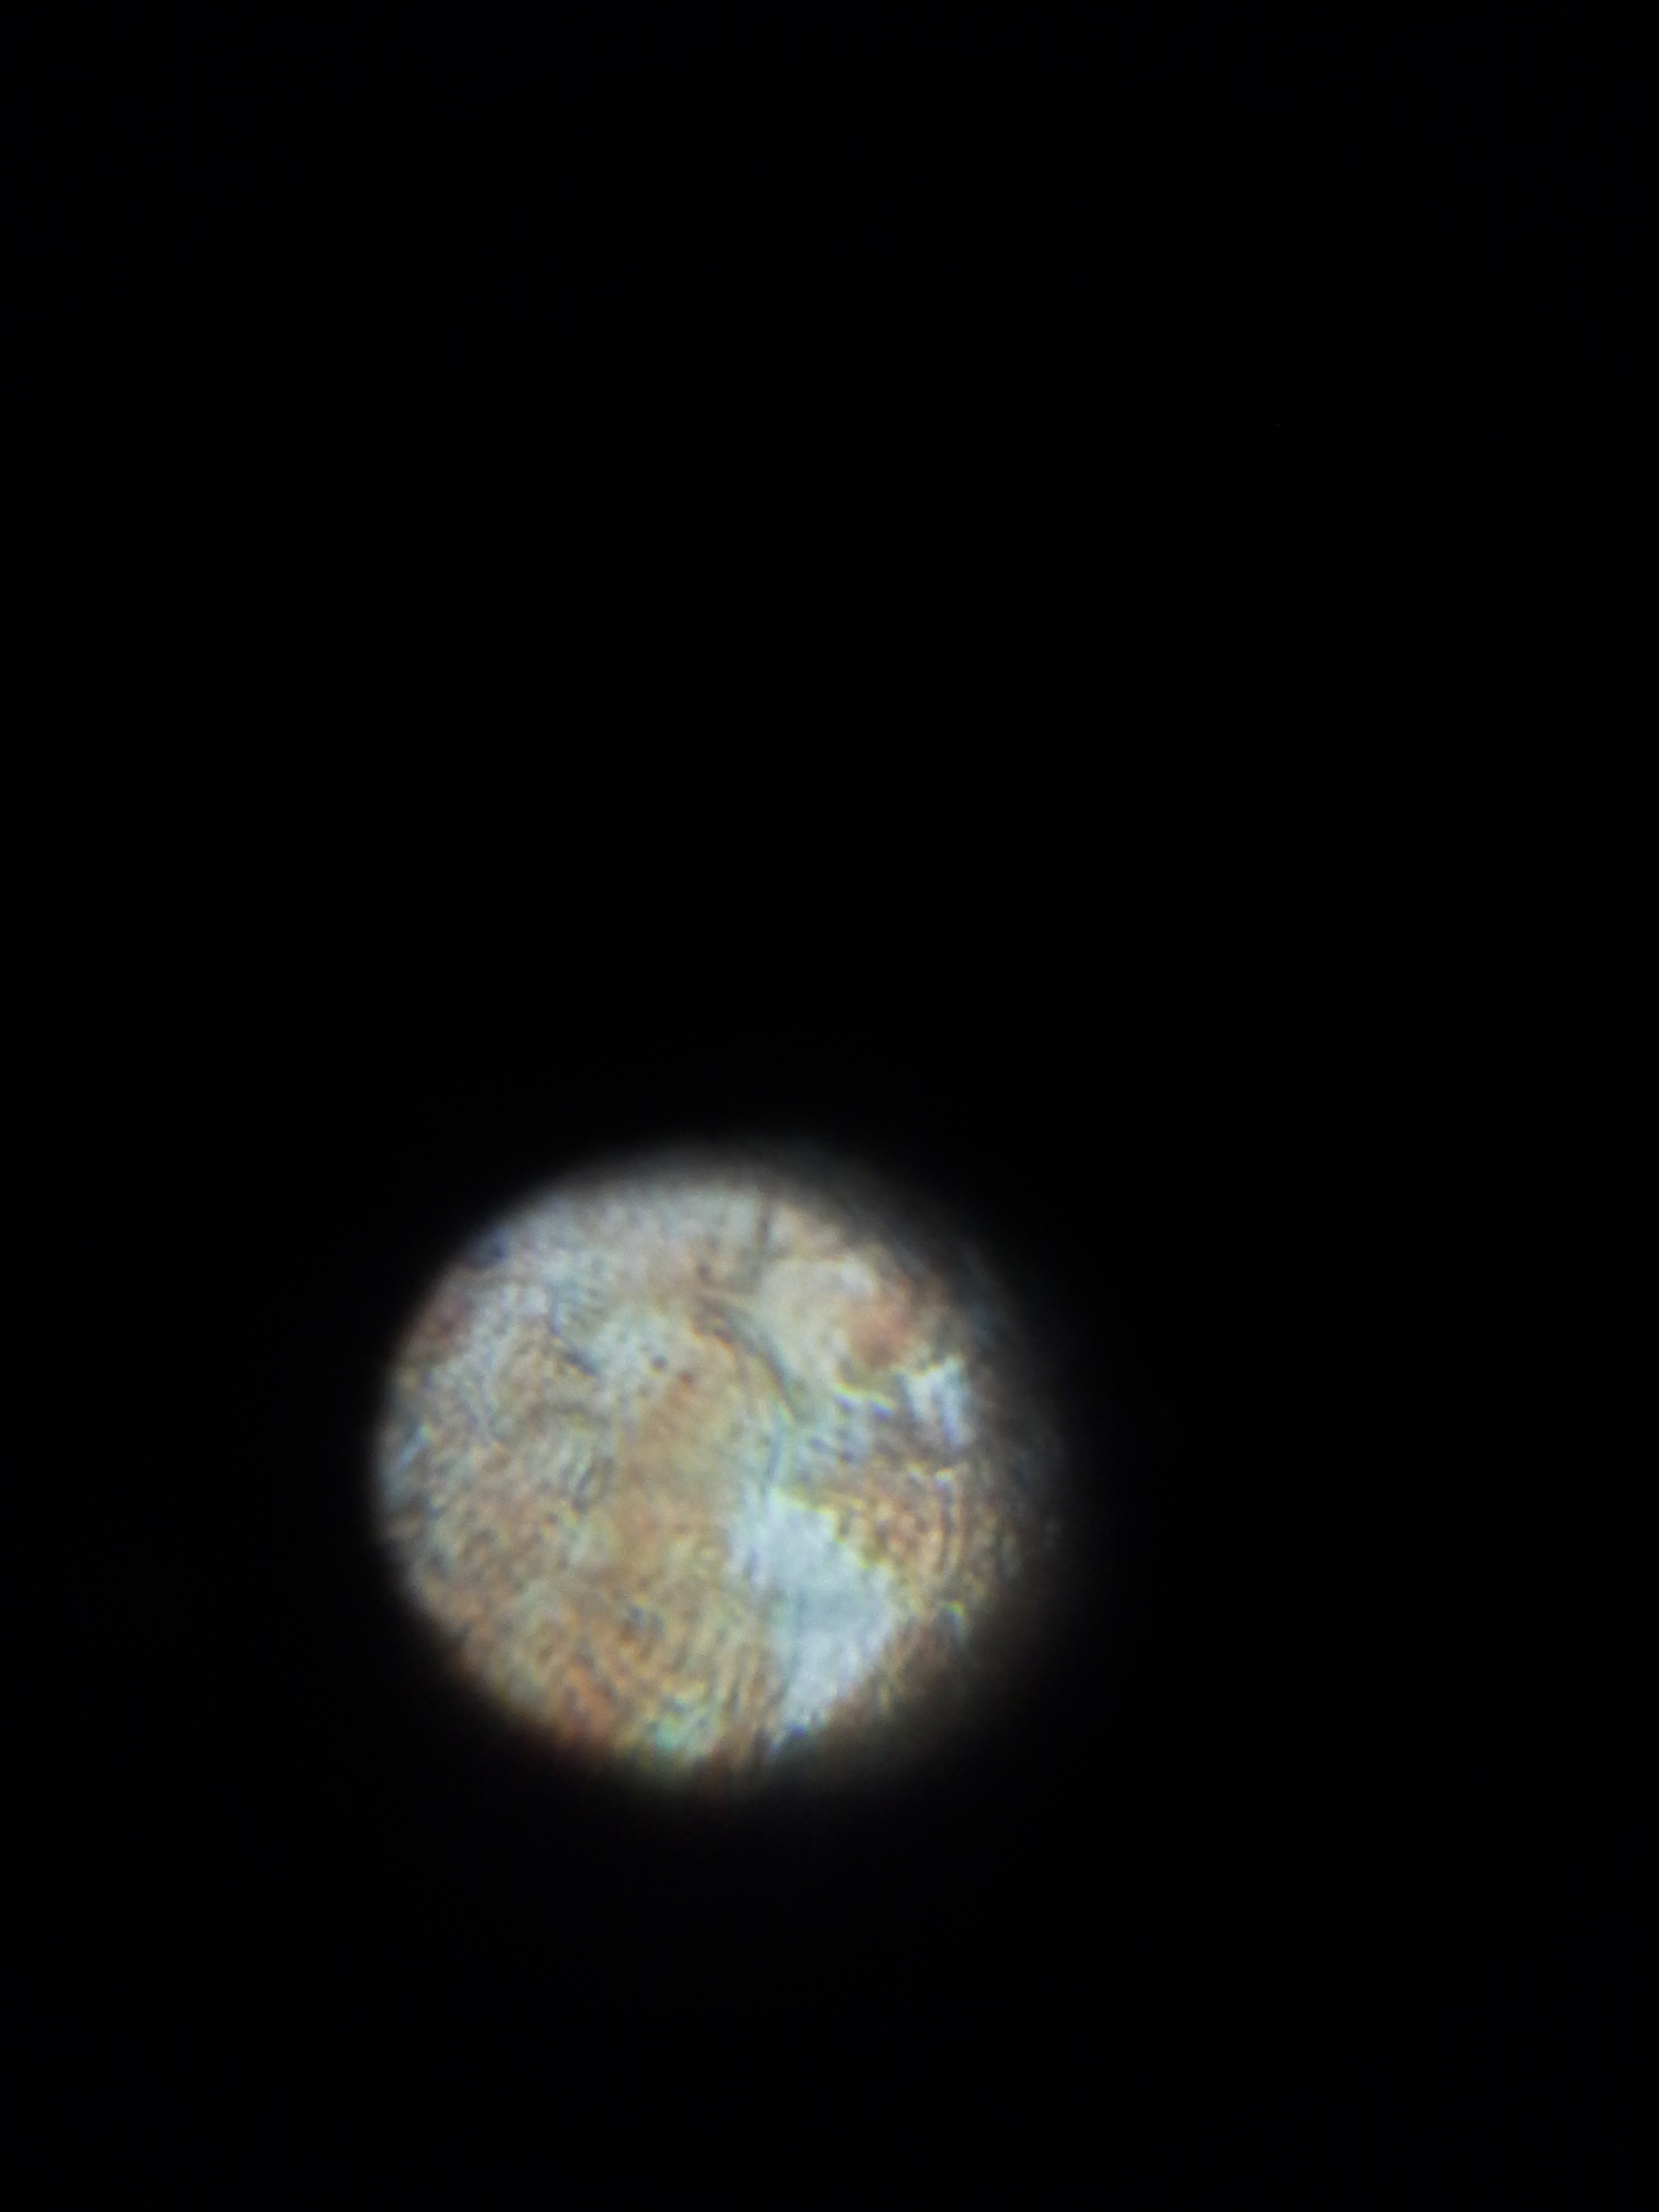
Low Magnification of Red Blood Cells (How it actually shows up on my camera – uncropped. Kinda looks like a planet in space like this! 😀

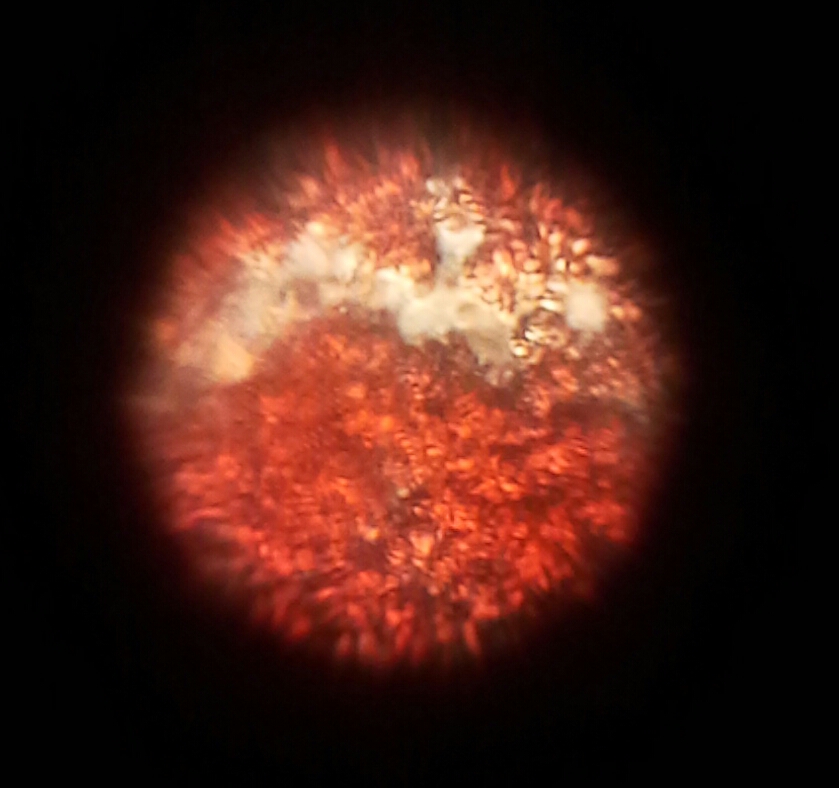
Red Blood Cells as seen through the High Magnification Lens – again, uncropped.
Now, the next images are other shots, but cropped so you can see more detail. The below images are taken with the Low Magnification Lens. The second image demonstrates a frustrating aspect of such a flexible unit – the slide (tape and paper) bend a lot, crinkle at times, so the focal plane relative to the lens is often off kilter. Any wrinkle in the tape or bumps in the glue of the tape cause the subject to distort, sometimes creating long streaks.

 Bleary image – drunk Foldscope?
Now here are shots taken with the High Magnification Lens:

You get a better sense of the individual blood cells this way, sometimes you can actually see the ‘donut’ shape of them!
Here are video clips of my blood- the first one, taken at lower magnification. It is best to view these videos at full screen in HD!:
Second video, at higher magnification Click here if it doesn’t play embedded:
https://www.youtube.com/watch?v=CuCzASyWqPY
Here is the setup for projecting:

Battery and switch set in the paper – back

Switched on – light peeks through the hole – front
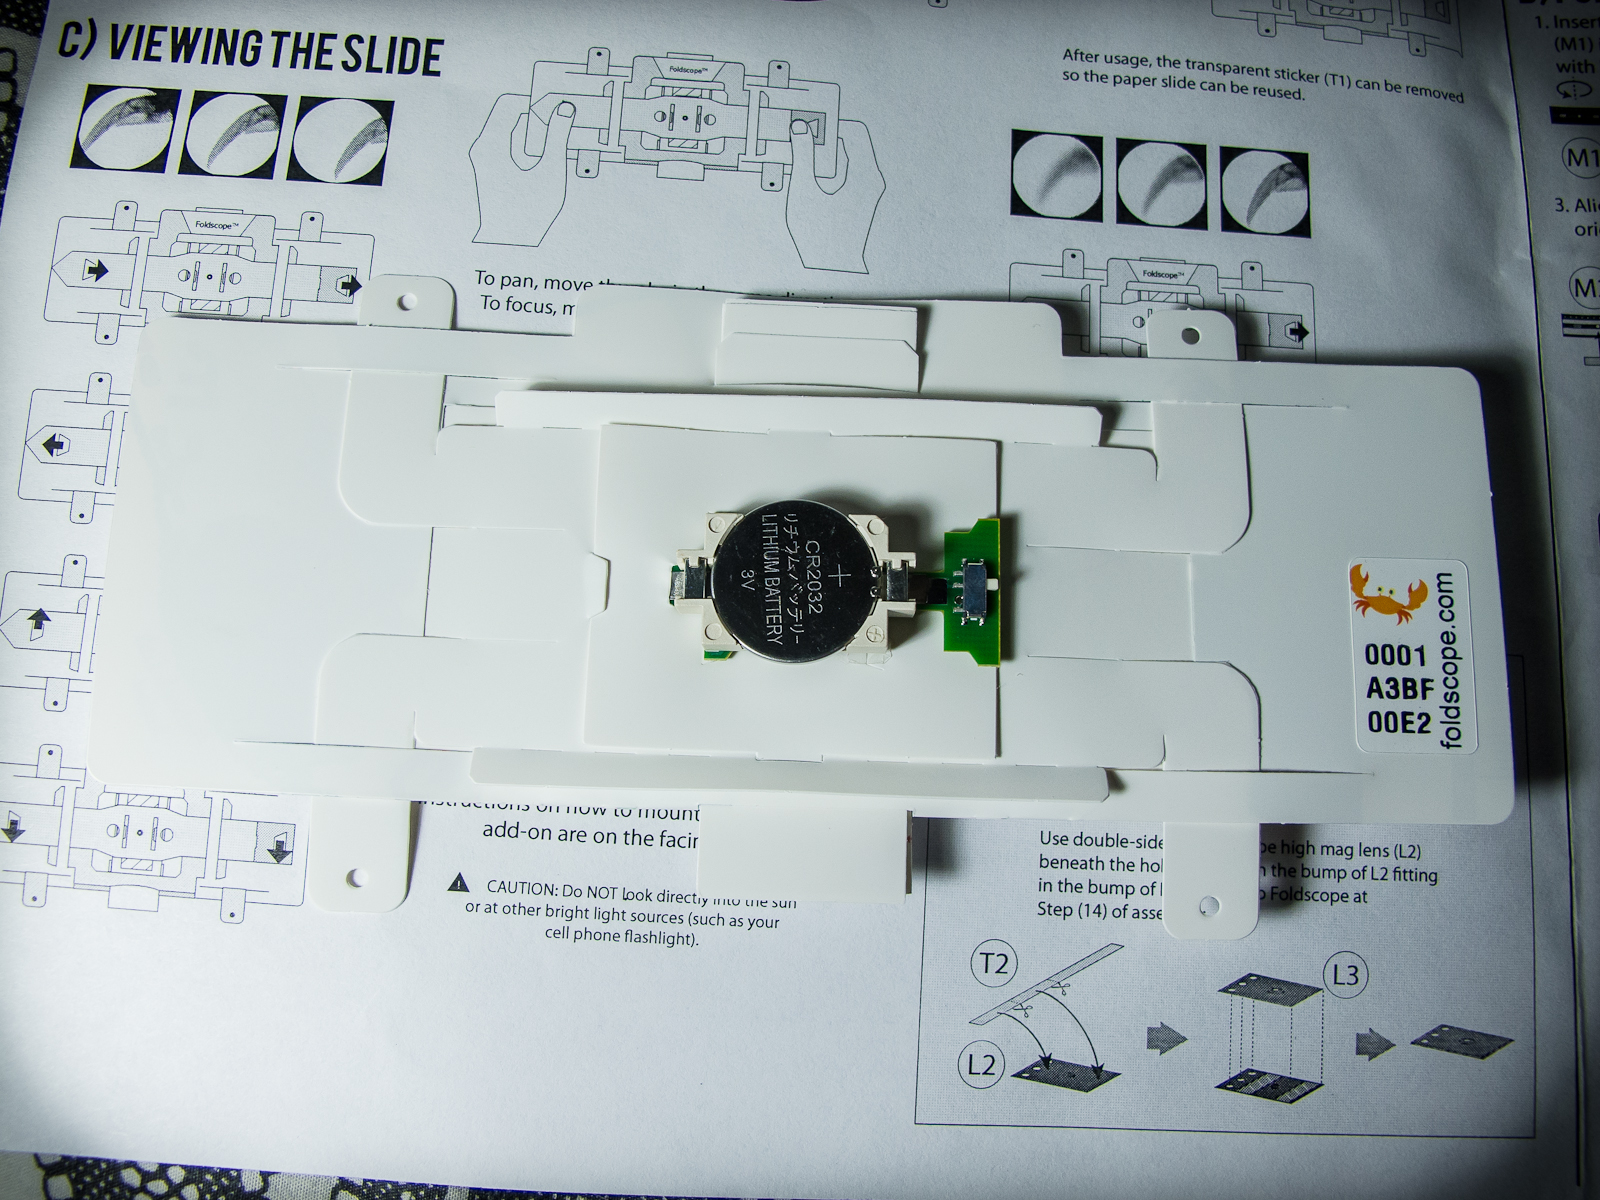
The back of the Foldscope, with LED light and battery attached.

The front, ready to go.
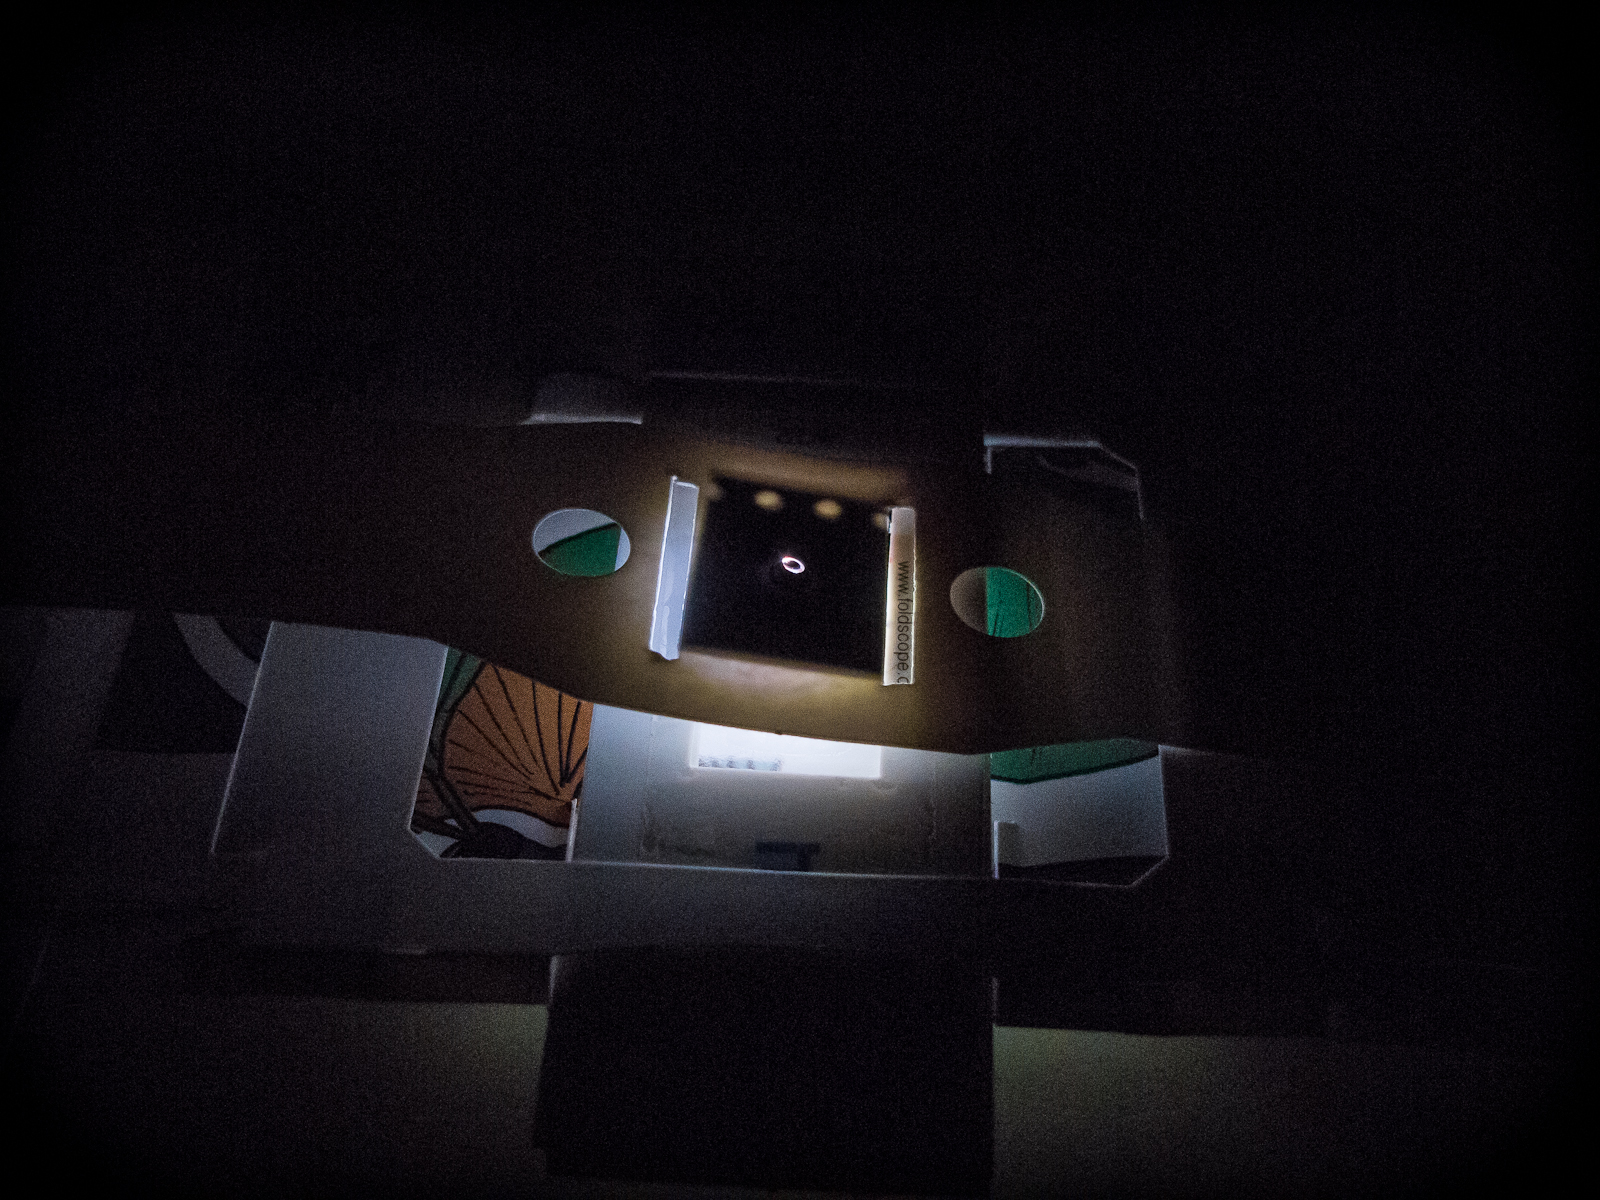
Dark enough for projecting…
I was a bit disappointed to see that the projection was very, very dim and required the user to position the Foldscope very close to the projection surface. But hey, it worked, and I am sure there is a way to get a stronger light source working the same way for a brighter image. They even mention using the magnetic strips to connect a cellphone flash (flashlight) to illuminate it, instead of the included LED. I tried it, but not in the correct way, which I still need to do properly.
Here is the very short clip (11 seconds) of the projection – next time I’ll get a video of how it works as seen from the side, or maybe even me using it 🙂 Click Here to watch if it won’t play embedded:
https://www.youtube.com/watch?v=QBiQNPljvlA
I then did observations of a freshwater worm (Perhaps of the genus Pristina?) that I have found populations of in my fish tank. They have interesting, long setae on their sides and are astonishingly active. I was impressed by the clarity of the images when I could get the Foldscope to focus on certain details. While very challenging to track given the fact that I am usually hand-holding both the cellphone and Foldscope, once I got the hang of it, it was a lot of fun. It was amazing, with the worm in the fish tank, with the naked eye I could only just tell that this worm had something that looked like little ‘legs’ poking out its sides – it had reminded me of a centipede of sorts. Seeing it in so much detail in my own room without any expensive equipment was mind boggling. I’d really like to see other microscopic aquatic animals this way, wherever I happen to be out in nature! (A place I would very much like to look at water samples is up on a mountain in Panama – I ended up drinking water from a stream there, never had any issues with the water for the whole month I was in El Copé! Still, I’m curious about the aquatic inhabitants)
This is a photo of the worm – cropped:
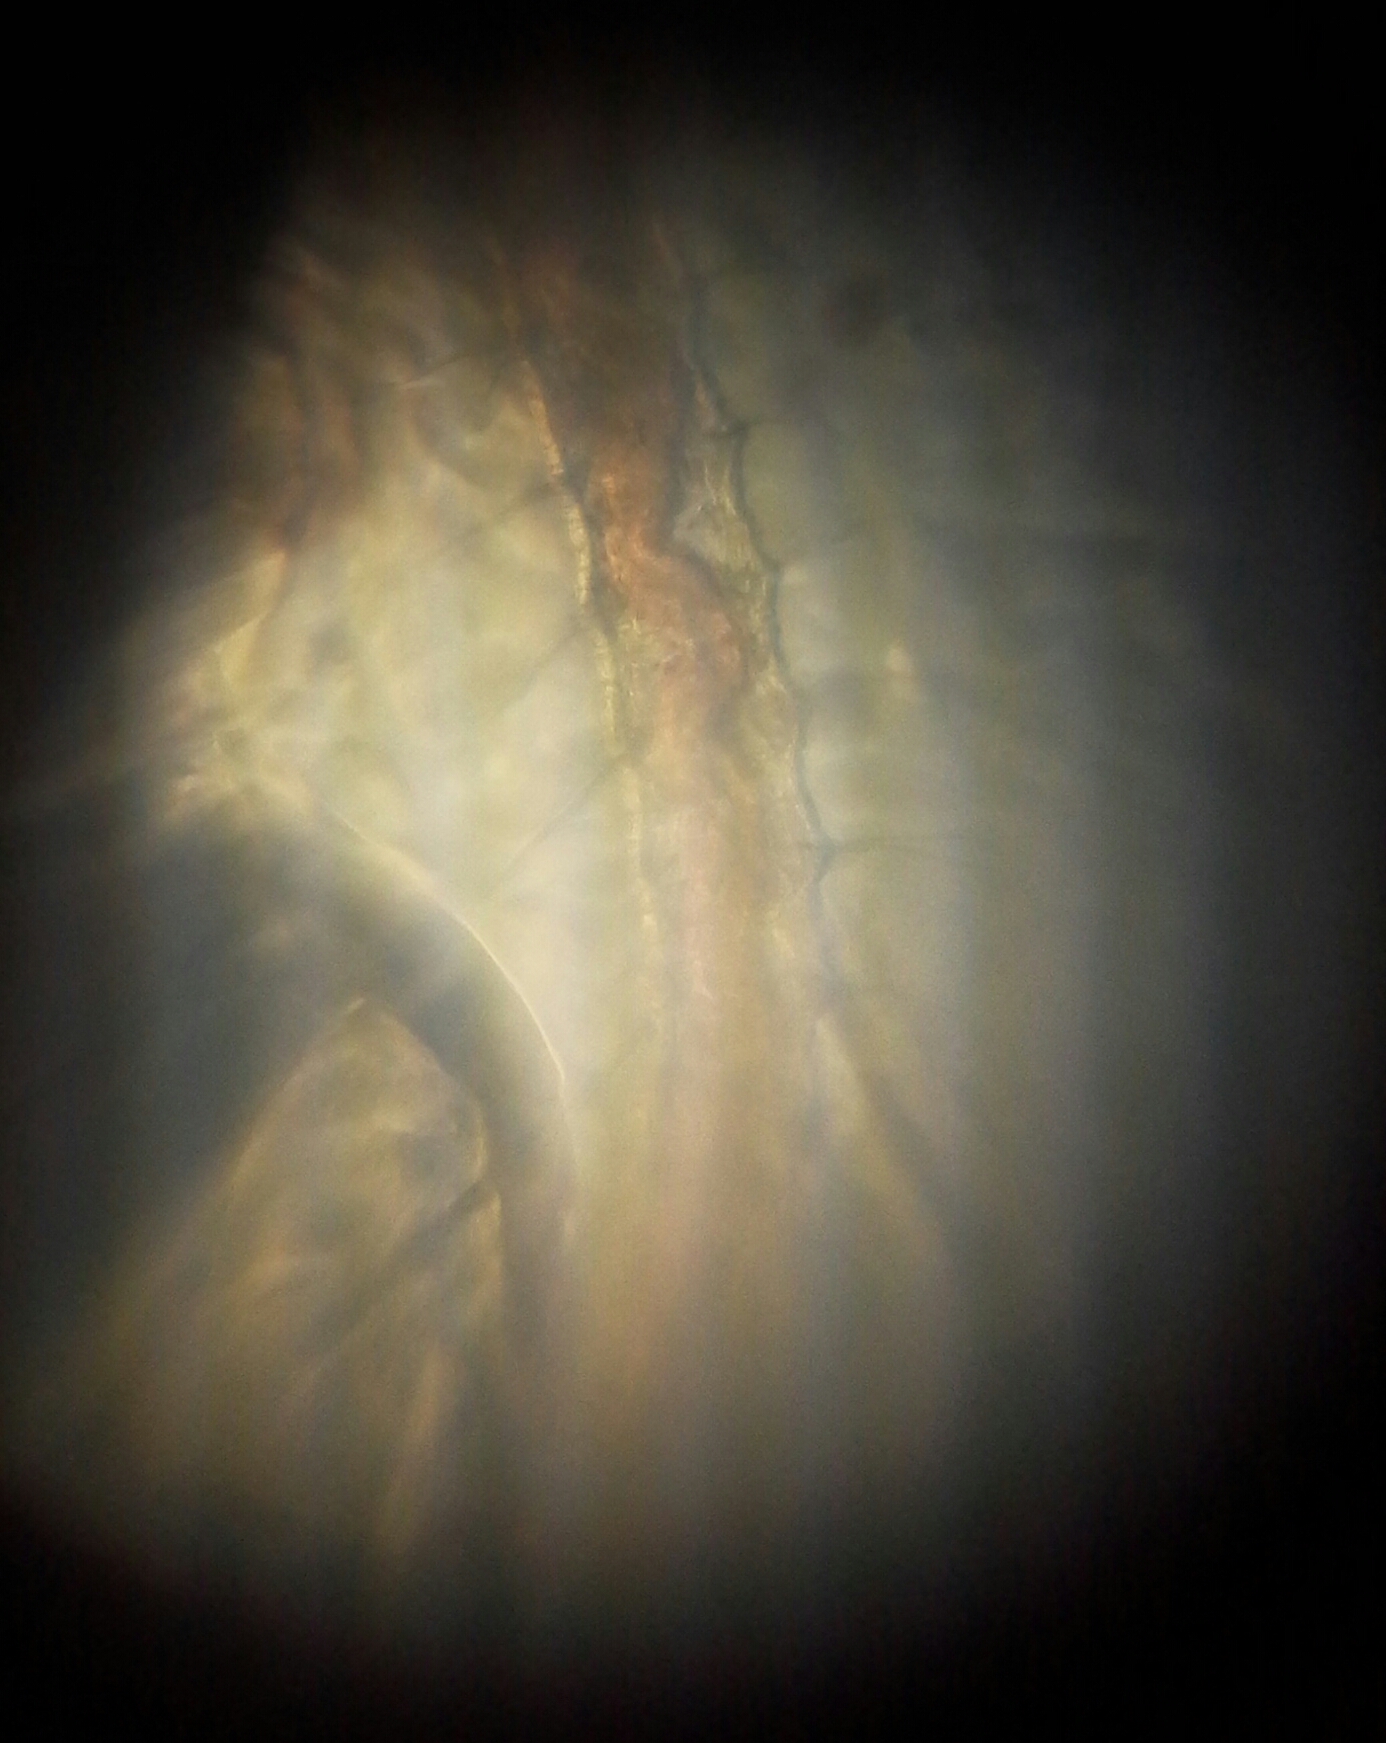
Section of Oligochaetes – Aquatic Worm, maybe genus Pristina and going further, perhaps Pristina longiseta?
Here are the videos – again, best viewed at full screen in HD:
Video #2:
Video#3:
If the video doesn’t work embedded – Click Here to View
https://www.youtube.com/watch?v=lEwBnKXY_e4
Conclusion:
So far, this little paper, plastic and glass microscope has been a lot of fun to figure out – and also very frustrating! I’d recommend a few changes to the design – I think my biggest issue with the system is the tape for the slides. It’s practical to have disposable and relatively clear sheets to look through with each subject, but the glue on the tape itself can cause distortions and complications with the quality of the image. Water used between the slides also turns a milky color after a while, I think this is the glue on the tape mixing with the water/liquid. It makes observations difficult.
The fact that the slides are so flexible means a lot of variables to juggle with, especially when using the highest magnification. Also, the quality of the image with the lower magnification lenses can be pretty muddled, I know there are great uses for it (the aquatic worm required this lens and got great results when it was in focus) but looking at anything truly tiny, like blood cells, was a bit impractical (but hey, thats what the high magnification lens is for!) Most of these complications are only big issues when using the Foldscope with a cell phone.
Viewing the slides through all the lenses with the naked eye was very easy to do, what you look at is much easier to make sense of and the overall image is much larger. The field of view seems pretty expansive this way.
It’s an amazing and clever design, even with all my fiddling its held its shape and functionality. I think they have accomplished all the basic objectives they set out to and that it could absolutely be a practical way for people all over the planet from all walks of life to experience the thrill of the microscopic realm. I’m really looking forward to seeing how others use it and feel pretty lucky to be able to test it out.
In the end – I’m looking forward to taking it beyond the walls of my bedroom and out into the wild. I’ll do another post when I have more imagery and videos to share, so be sure to subscribe if you’d like to stay up to date on nerdy goodness such as this. 😉

Thanks for the review! Even though it’s from a while back, it’s giving me a better and clearer idea how well the foldscope works! (I’m still thinking of buying them right now so that was really helpful:D)